Hello everyone!
Erik and I visited my family's cabin over the weekend and I was finally able to accomplish something I have dreamed of for years.
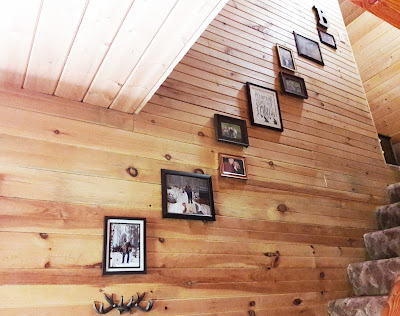
A cabin gallery wall!
Pictures
Picture Frames
Paper
Pencil
Scissors
Tape
Nails
Hammer
Tape Measure
Level
Select your pictures and print.
I collected several pictures taken at our cabin over the years.
Place the pictures in your desired picture frames.
I went for several different sizes and textures.
I collected several pictures taken at our cabin over the years.
Place the pictures in your desired picture frames.
I went for several different sizes and textures.
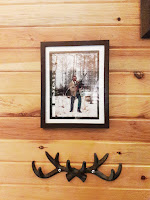
I also added in a quote, decorative antlers and a letter B to add some variety.
Cut out the outlines, these will be your guides.
Organize the outlines on your wall to your preference.
I wanted my gallery wall to flow up with the stairs.
I had to arrange them a few times until I got the look I wanted.
This is such an easy way to save yourself a headache.
You can rearrange the outlines on the wall until you get the look and spacing you want.
Use this measurement to make a mark on the outline on the wall.
Use your hammer and hit the nail into the wall at the marked spot.
Remove the paper outline and hang your picture.
Continue until all pictures are on the wall.
Using your level, level each picture frame.
I wanted to start with enough pictures for the wall to look full but to also have room for it to grow.
Our cabin was built almost thirty years ago and we have so many memories there.
I hope the rest of my family will add their favorite pictures to the wall over time.
What tips do you have to offer?
All my love,
Autumn


No comments:
Post a Comment